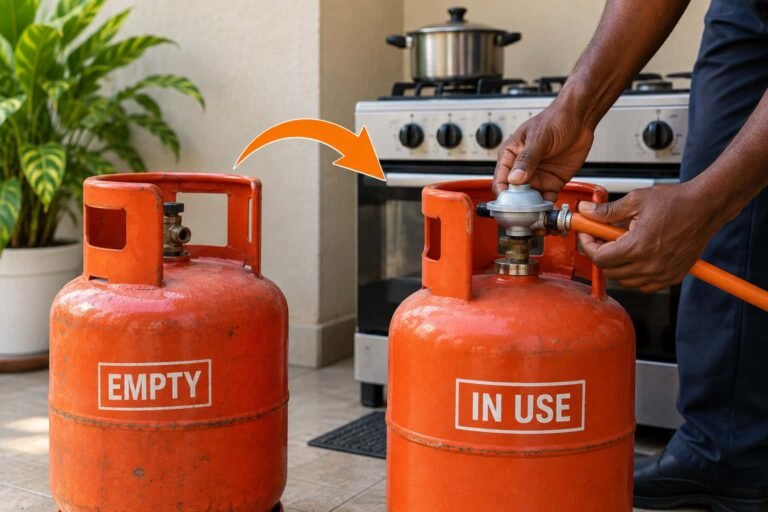
How to Set Up Your Gas Cooker for the First Time
You have your cylinder, your cooker, and a meal in mind. All that is left is to put it together. Setting up a gas cooker for the first time can feel a little nerve-wracking, but it should not. Done in the right order, it is quick, simple, and safe.
This guide shows you how to set up your gas cooker step by step. We set up new gas users across Lagos all the time, so these are the exact steps we follow. Take them one at a time, and you will be cooking in minutes.
Before you start: what you need
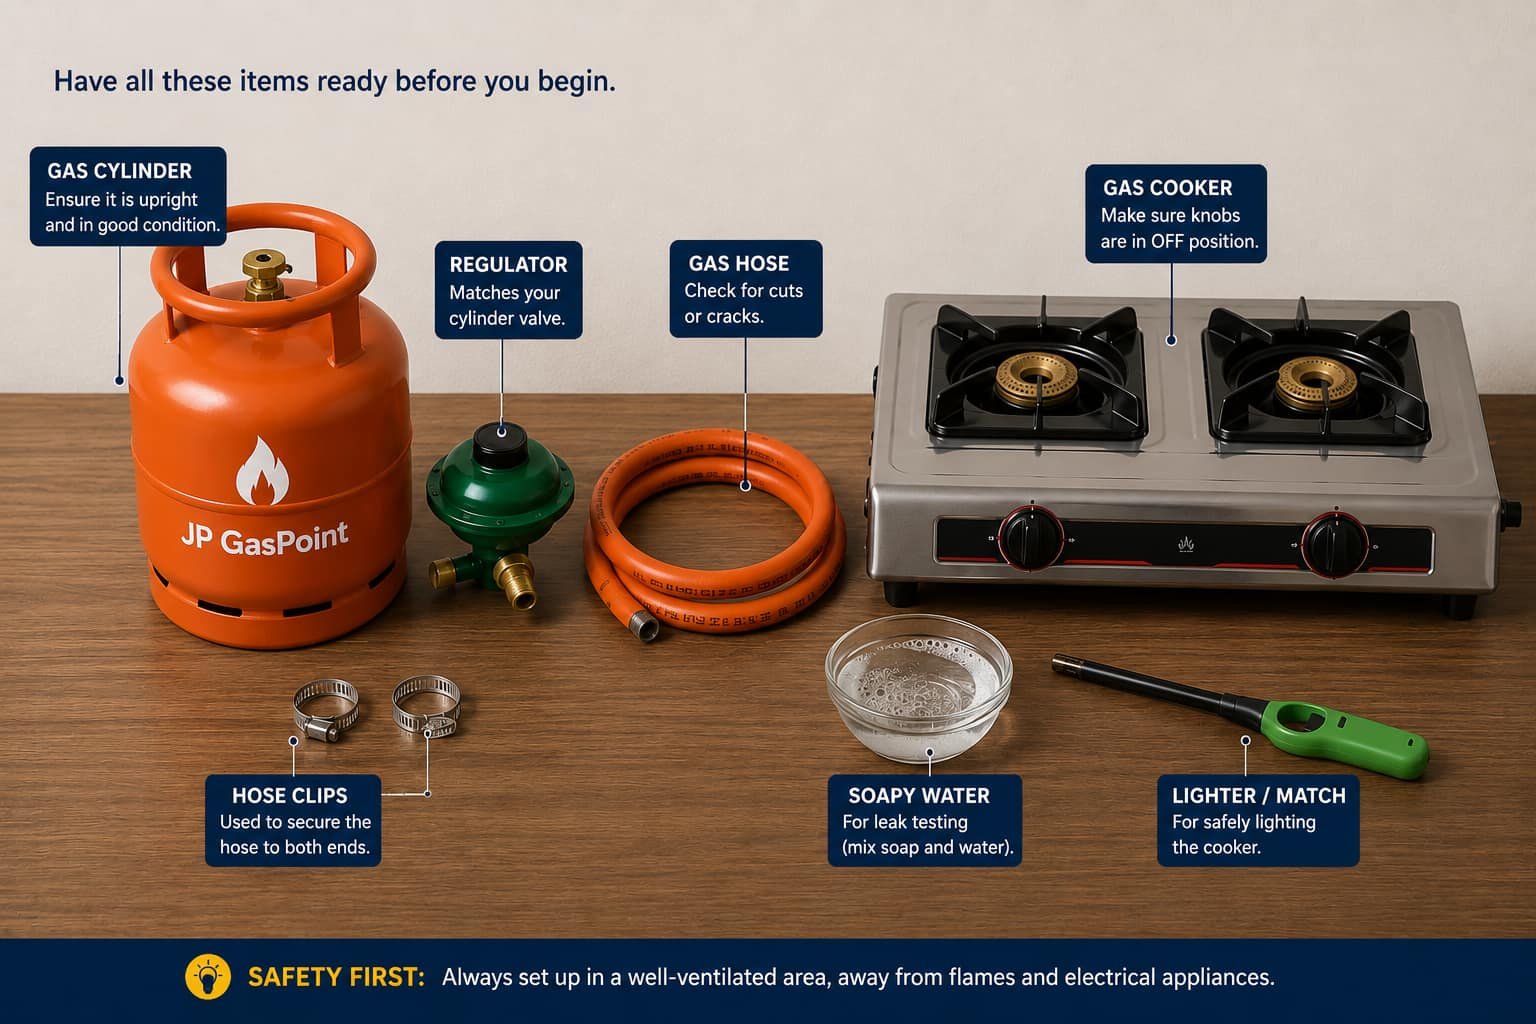
Gather everything first. You need a gas cylinder, a regulator, a hose with two clips, and your cooker. A small bowl of soapy water is the last piece, and the most important. Check that the regulator matches your cylinder’s valve type before you begin. Our equipment guide explains how to choose each part.
Step 1: Pick a safe spot
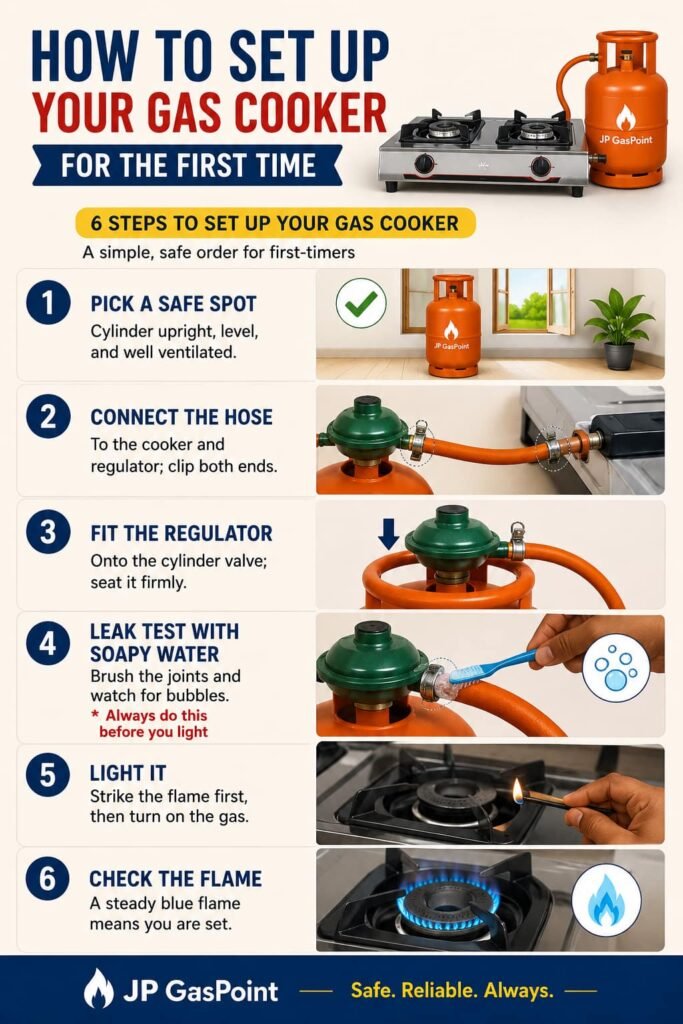
Where you set up matters. Stand the cylinder upright on a firm, level surface. Choose a spot with good airflow, never a sealed cupboard. Keep it away from heat, open flames, and electrical switches. A little thought here keeps everything safe from the start.
Step 2: Connect the hose
Start with the hose, while both ends are still easy to reach. Push one end onto the regulator and the other onto the cooker, then clip both ends. It does not matter which end you attach first. Doing this now, before the regulator is on the cylinder, makes the connections far easier. Keep the hose free of kinks and stretching.
Step 3: Fit the regulator to the cylinder
Now fit the regulator onto the cylinder valve. A clip-on type presses firmly into place, while a screw-on type threads in. It should sit snug and secure, so never force it. If it will not seat properly, you may have the wrong type for your valve. Leave the gas turned off until the next step.
Step 4: Do the soapy water leak test
This is the step you must never skip. Before you light anything, turn on the gas at the cylinder. Then brush soapy water over every joint, the valve, the regulator, and both ends of the hose. Watch closely for bubbles. Bubbles mean gas is escaping, so fix that connection before going further. No bubbles means you are safe to cook. Our safety guide covers this test in full.
Step 5: Light it for the first time
Now for the satisfying part. Strike your lighter or match first, then turn on the burner. That order keeps gas from gathering before it catches. On a brand-new cylinder, the first light may sputter for a second as a little air clears. That is normal. Adjust until the flame settles.
Step 6: Check the flame
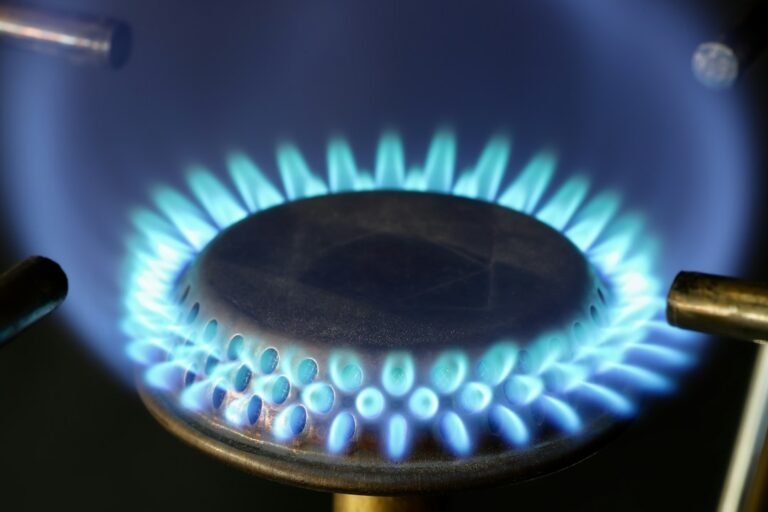
Finally, look at your flame. A healthy one burns steady and blue. If it is yellow or lazy, the burner ports may need a clean. A good blue flame means your setup is working as it should. If anything seems off, our troubleshooting guide can help.
First-time mistakes to avoid
A few slips are common, and all are easy to dodge. The biggest is skipping the leak test, so never rush past it. Forcing a regulator that does not fit is another. So is using a cheap, ill-fitting hose. And do not tuck the cylinder into a closed cupboard. Avoid these four, and your setup will be sound.
Your first-time setup checklist
- Gather the cylinder, regulator, hose, clips, cooker, and soapy water.
- Set up on a firm, level, ventilated spot.
- Connect the hose to the cooker and regulator; clip both ends.
- Fit the regulator firmly onto the cylinder valve.
- Run the soapy water leak test before lighting.
- Strike the flame first, then turn on the gas.
Frequently asked questions
Can I set up gas myself, or do I need a professional?
Most people can set up a basic gas cooker themselves, following these steps. If you are unsure at any point, it is fine to ask for help.
How do I know my setup is safe?
The soapy water test is your answer. If no bubbles form at any joint, and the flame burns blue, your setup is sound.
Why won’t it light the first time?
On a new cylinder, a little air in the line can delay the first light. Give it a moment, and check the gas is turned on at the cylinder.
Do I need to test for leaks every time?
Test at setup, and again each time you change or reconnect a cylinder. It only takes a minute and catches most problems early.
That is all there is to it. Set up on a safe spot, connect the hose and fit the regulator, run the leak test, then light up. Follow the steps in order, and setting up your gas cooker becomes second nature. Your first home-cooked meal is just minutes away.
If you are in Lagos and would like a hand, we set up new users properly and safely. Read our getting started guide for the bigger picture, see our services, or message us on WhatsApp.